
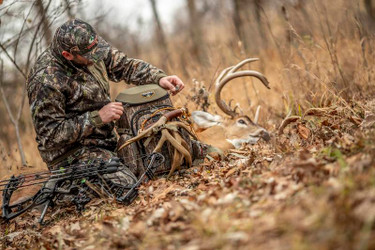
3 Tips For Better Tasting Venison + Venison Bacon Bites Recipe
Posted by Heath Wood on Nov 29th 2021
The Taste Comes From The Details
One of the most rewarding moments for a hunter is when the time comes to sit down and enjoy a meal made with fresh venison from their latest harvest.
For many years I have processed my venison at home. However, I admit that I didn’t know how to process my harvest correctly for the first few years. My lack of knowledge not only presented itself when processing but also through the entire activity. After learning, as time has gone on, I look back to realize I did a poor job field dressing my deer—a poor job of processing and packaging, and even worse, when cooking and preparing venison to eat; it wasn’t that great either.
To fully enjoy the benefits of processing venison and becoming a better cook when preparing a meal for yourself, family, and friends, more attention from dressing in the field must be done. The attention to detail must be continued until the venison reaches the kitchen.
Make The Right Shot
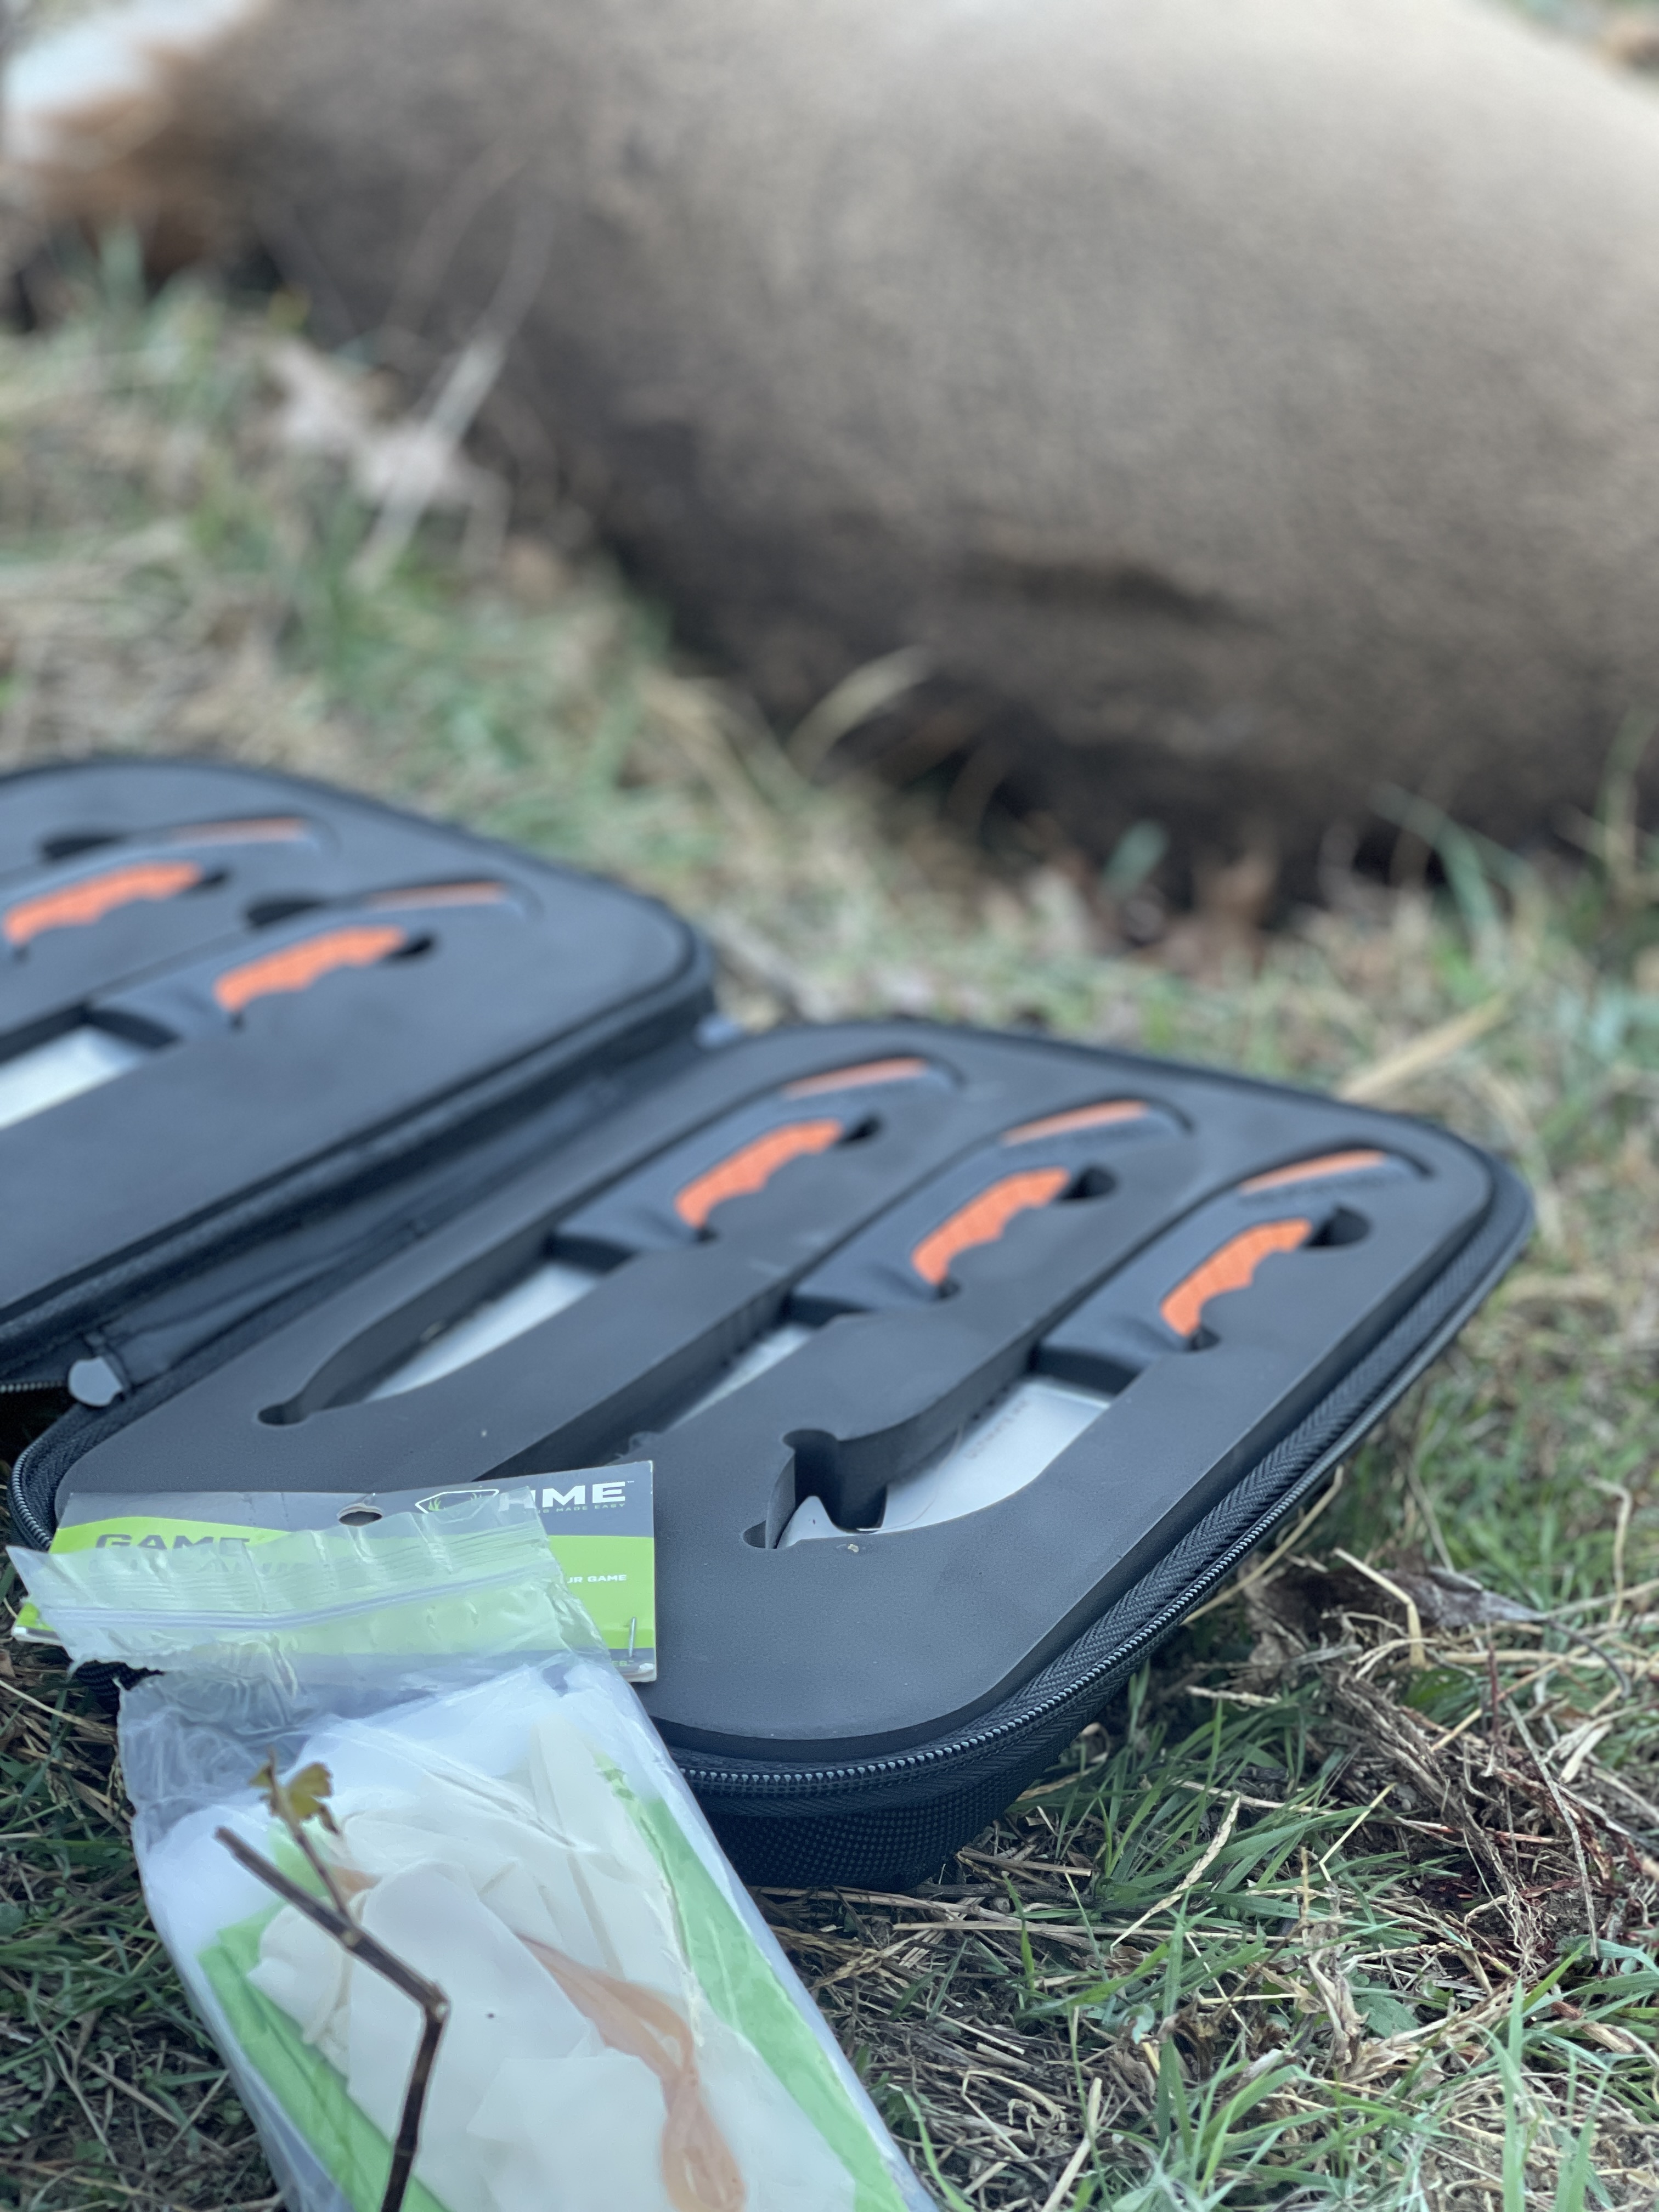
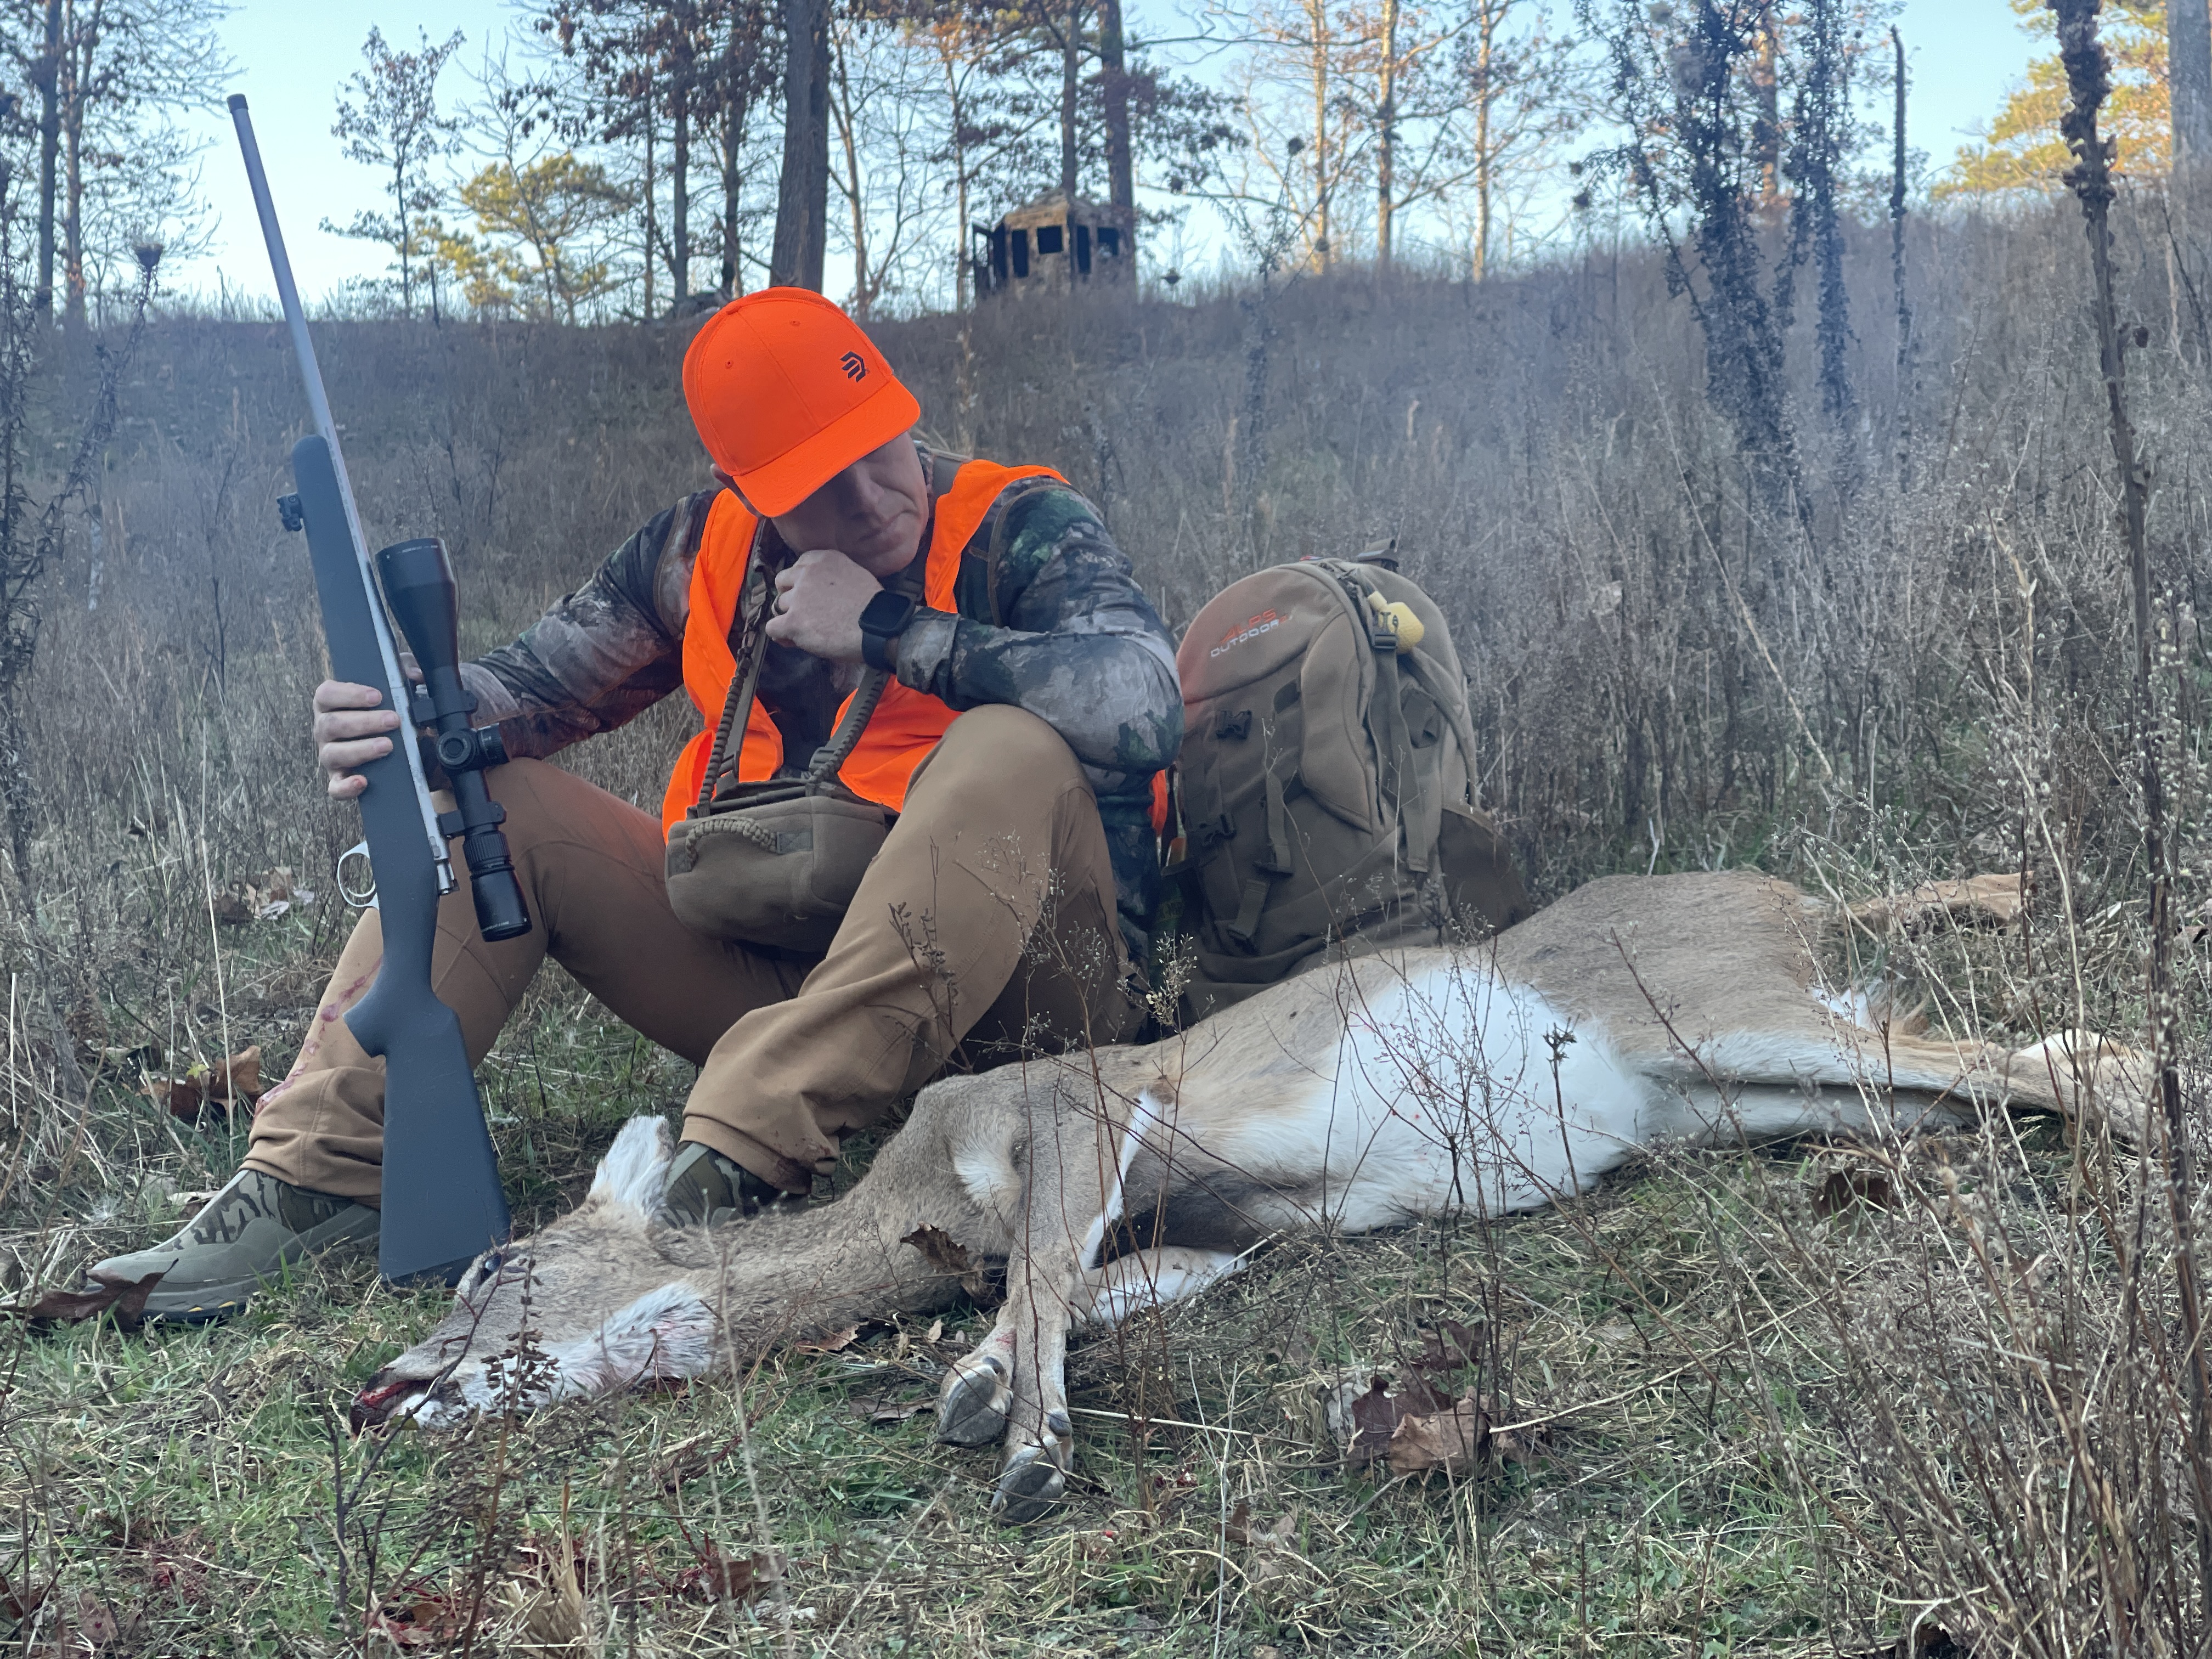
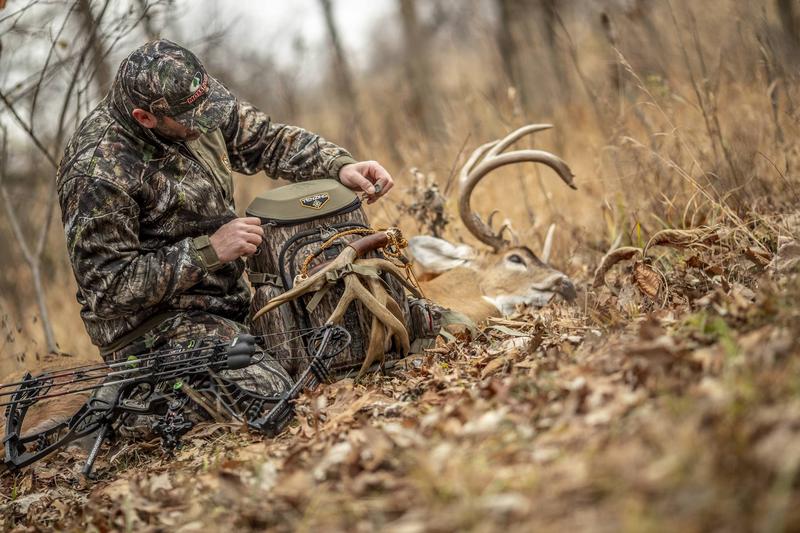
The prep work begins moments after the shot has been made to achieve better tasting venison. The faster you can field dress a deer after the kill, the better-quality meat you will have afterward. When field dressing, it is vital to use the Cold Steel Click-N-Cut knife and remove all organs and guts as soon as possible. Most often, the shot that the hunter made most likely will be in the heart or lungs. In the worst-case scenario, the shot was made in the intestines or as often referred to as the guts. The worst tasting meat will be from a deer that has been shot in the gut area. If the shot is made there, it is even more crucial to field dress as soon as possible. If shot in the heart area, there will be a lot of blood filling up inside the body cavity, thus being the reason for removing quickly. The optimal place to shoot a deer to achieve the best tasting meat is honestly in the head or the lungs.
Wash The Dirty Places
Removing all the insides while field dressing is vital; however, washing the interior body cavity is even more critical. I use my HME Tri-Pod Hoist as the next step after field dressing. When I arrive at home or camp with my harvest, I use the HME Tri-Pod Hoist to help clean the insides out properly. After I hook the back legs of the deer into the gambrel that is included with the hoist, I then ratchet the deer up with the head facing down until the hams of the back legs are at eye level. After ratcheting deer into position, I wash out the inner cavity with a water hose if available. It is crucial to get all the blood or other body fluids off the meat as soon as possible if meat sits in blood and fluids for an extended period; the meat will result in a lower quality taste.
Give An Ice Bath
When field dressing and skinning, separating the blood from the meat is essential to achieve better tasting venison. The same goes after the meat has been removed from the bone and is ready for processing.
After removing all meat from the bone, I place the meat inside my 65-quart Yeti Tundra cooler with ice water and salt. For at least twenty-four hours, I let the meat soak in ice water. Throughout that twenty-four-hour process, I drain all bloody water and refill it with fresh. When meat soaks in the saltwater, the blood from the meat is removed. Thus, resulting in better tasting venison when ready to cook.
Process The Meat Correctly
As a backyard BBQ enthusiast, I often hear the phrase, fat is flavor. Using fat for flavor works excellent when cooking beef or pork. However, the flavor of deer fat is awful! The last step of taking better care of the game before cooking is slicing, trimming, and packaging while processing.
Often when people experience lousy tasting venison, it is because it has not been appropriately prepared. As I have mentioned, I prefer to process my venison instead of taking it to a processing plant. The number one reason for processing my own is because I know the quality of meat that I have moments before packaging. It is vital to remove all sinew, silver skin, and other muscle tissues found through the meat. When slicing venison, I prefer separating each muscle with my Cold Steel Knives Boning Knife included in the Cold Steel Kitchen Classic butcher block set. A sharp boning knife allows for the removal of a thin layer of silver skin or sinew that is found in between the muscles. I want a clean chunk of meat, free of anything that has less than ideal taste before I begin slicing. After the meat had been properly cleaned, I start slicing using the larger Slicer knife in the Kitchen classic set.
The last step involves properly packaging the venison you have prepared. It is vital to seal and keep out air when packaging. I prefer using a vacuum sealer or wrapping it in butcher paper than freezer paper. A Ziploc-style bag only works well for a short period. After a time, meat can gain air, causing the meat to freezer burn faster when using plastic bags for packaging.
How To Cook: Smoked Bacon Wrapped Venison Bites
The last step to achieving better tasting venison is to be creative when cooking. I only cooked venison for several years by soaking it in milk, rolling in flour, and deep-frying in vegetable oil. Don’t get me wrong; I still love deep-fried venison. However, to gain the full flavor potential of venison, one must expand their taste buds by trying different recipes and methods of cooking.
Below is an easy recipe for smoked bacon-wrapped venison Bites to get you started on the right track. The smoked venison bites are full of mouth-watering flavor and are great to serve as an appetizer or to use as a complete meal itself.
What You Will Need:
Fresh Venison
Red Onion
Bacon
Traeger Grill, Traeger Rub
Toothpicks
How To Prepare:
Step 1: Slice venison into small steaks, approximately ½ to ¾” thick
Step 2: Slice red onion into 1” x 1” square chunks
Step 3: Lay slices of bacon on a clean flat surface or plastic tray. Place a piece of venison at the bottom of bacon, followed by a slice of onion. Add a second piece of venison, followed by a piece of red onion, with bacon still lying flat, season with Traeger Rub. Wrap bacon in a wheel motion until bacon is surrounding the outer side of the deer. To hold venison and onion into place, stick a single toothpick through the center until the toothpick is through the entire wheel. Last, season outside of bacon again with Traeger Rub.
Repeat the process for as many bites as desired.
To Cook:
For this cook, I used my Traeger Grills Pro 780, using Traeger Hickory flavored pellets. Preheat grill to 350 degrees. Once the desired temperature has been reached, place all bacon-wrapped venison bites directly onto the open grates of the smoker.
Smoke venison bites for about an hour and a half, or until the outside of bacon is fully cooked. For best results, cook until the internal temperature of venison has reached a minimum of 140 degrees for a medium-well center. For well done, smoke until 160 degrees.
Serve Hot!